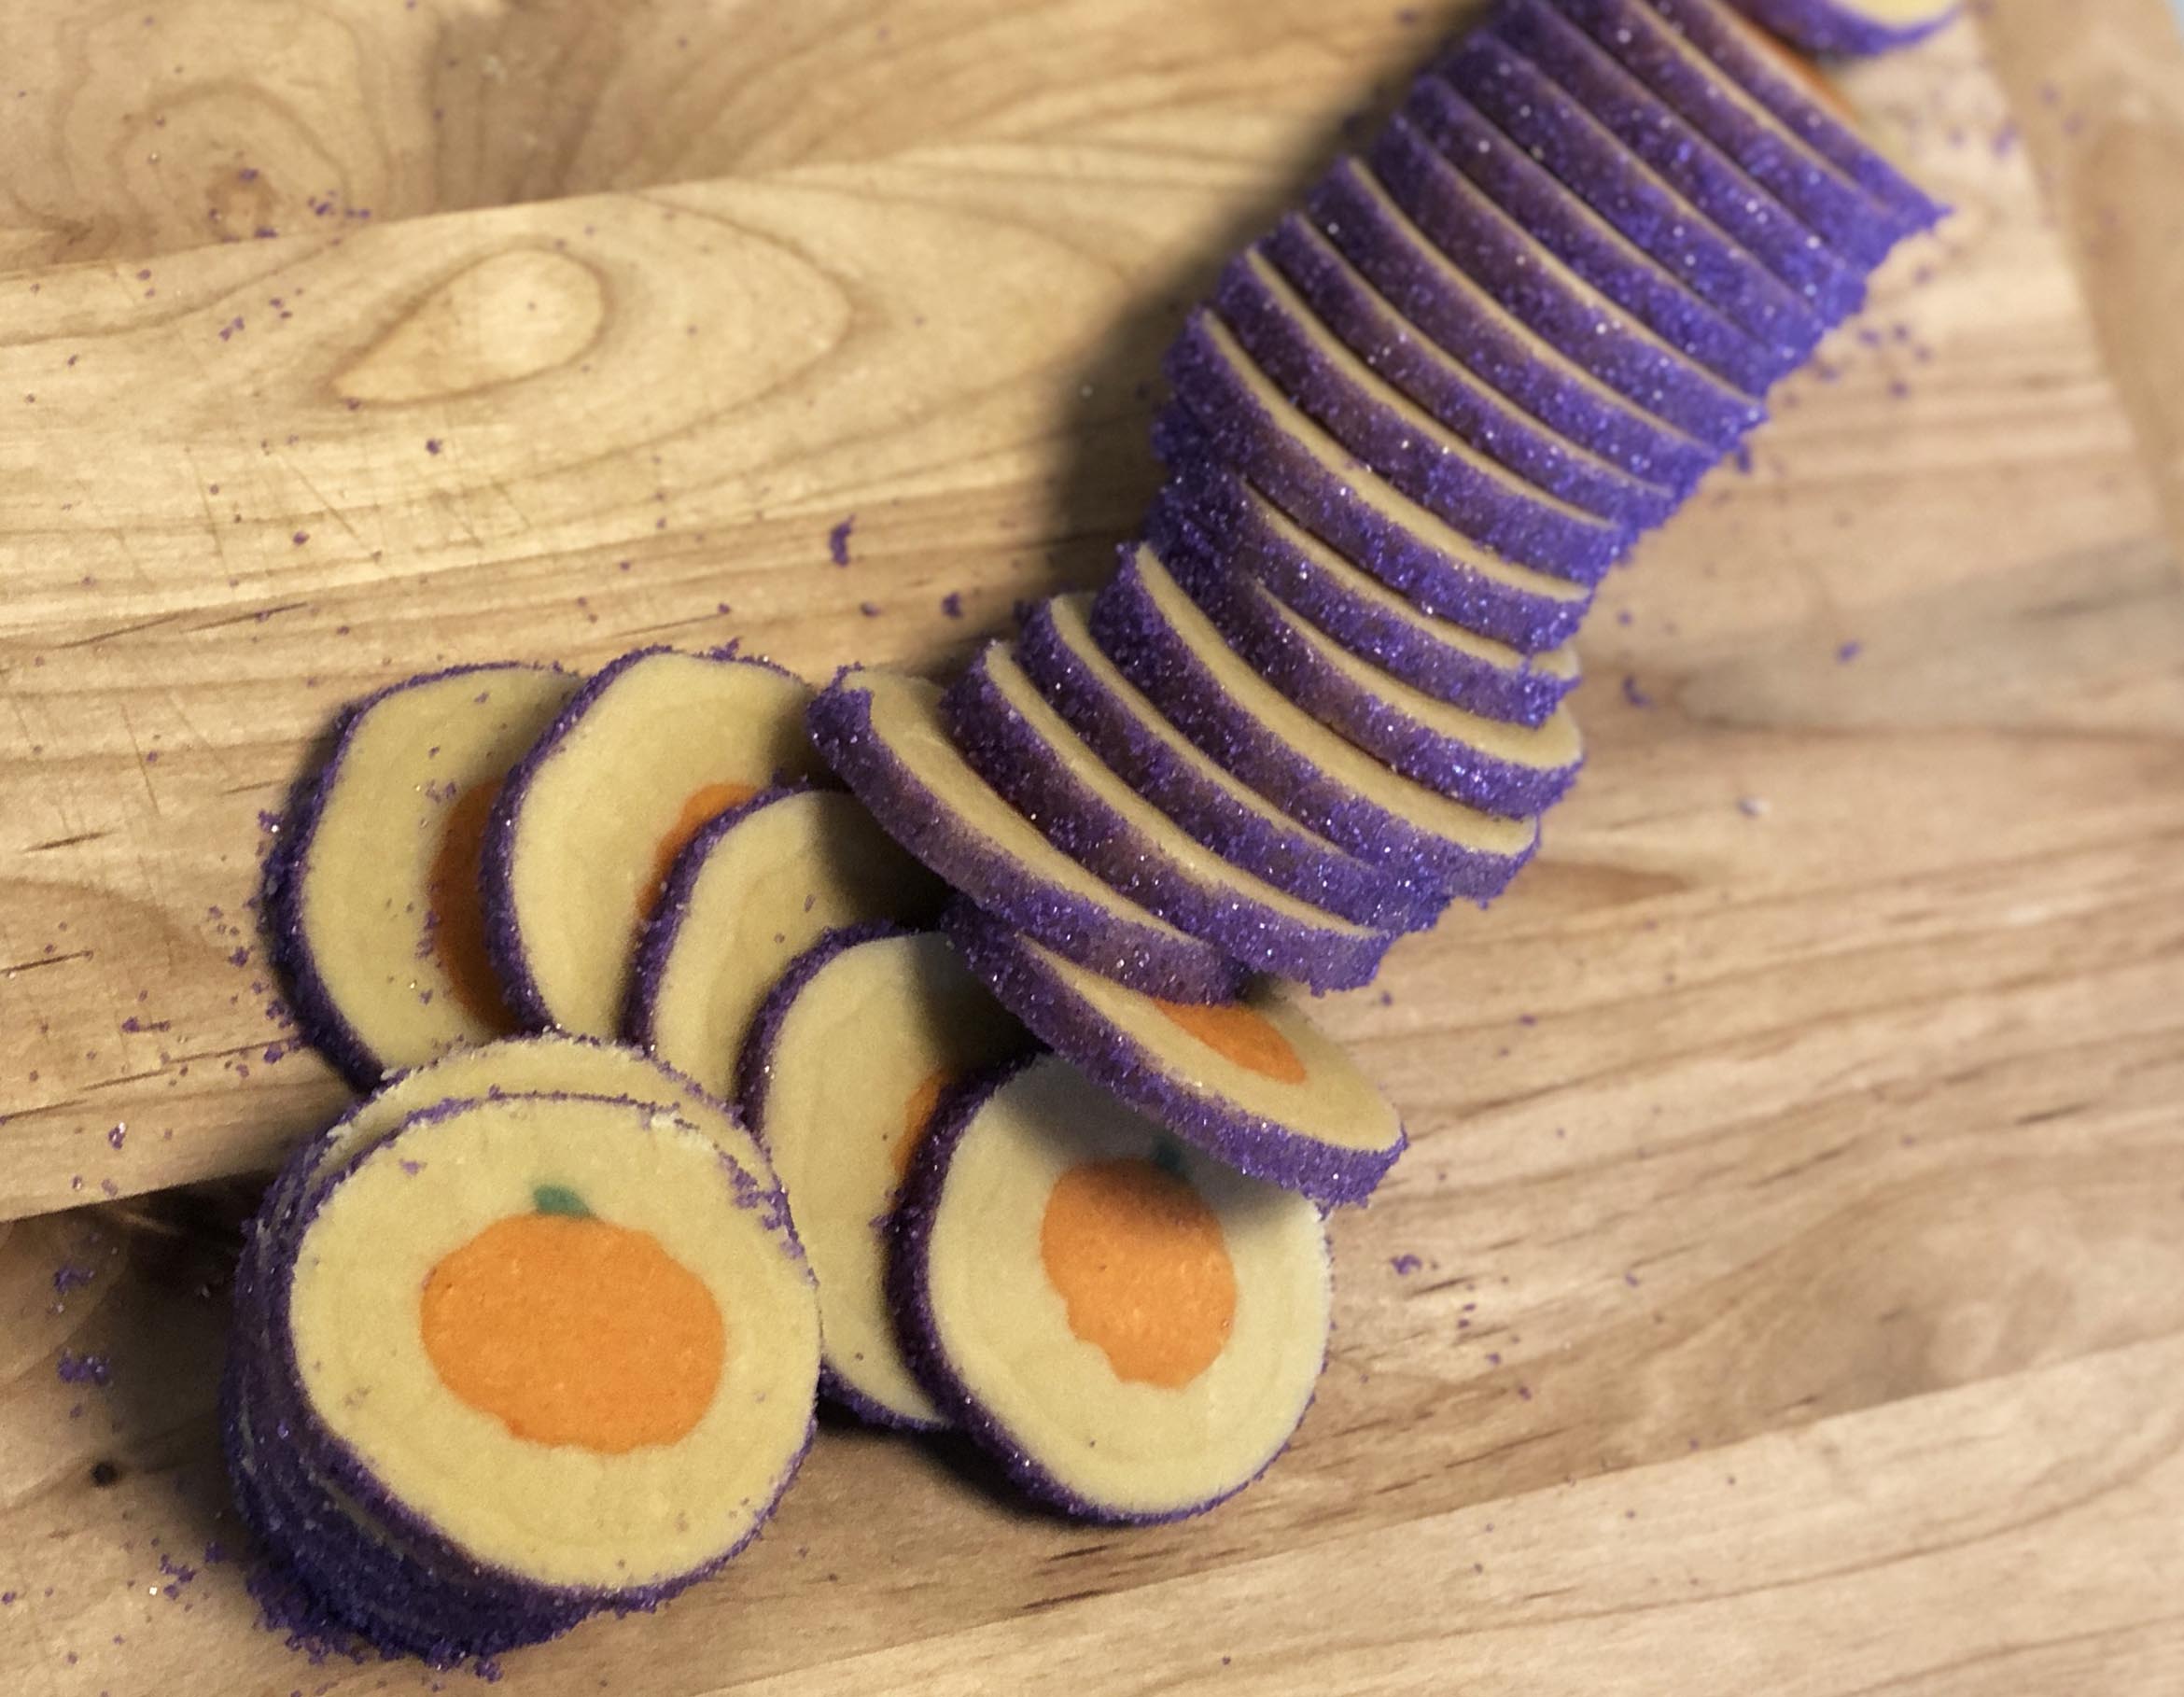
Slice-and-bake cookies combine convenience and nostalgia into a delicious, themed bite. These particular cookies have a pumpkin in the center for decoration, making them perfect for Halloween, but you can substitute in any design you'd like to create. Making cookies from scratch adds a hands-on activity for the family and ensures parents and children alike know exactly what they're eating, no unpronounceable ingredients included.
This recipe, which was created by Institute of Culinary Education Instructor Penny Stankiewicz, calls for the cookies to be rolled in edible glitter for an extra sparkle, but you can omit that step if you'd like. You could also roll them in sprinkles, shredded coconut, or any other similar garnish for a fun extra addition.
Simply follow the recipe and technique to make your dough, and refrigerate the roll until you're ready to bake and serve. It's a highly-customizable recipe, so have fun with it!
Get hands-on experience making cookies, cakes and so much more in ICE's Pastry & Baking Arts program

Ingredients
- 225 grams unsalted butter
- 322 grams white granulated sugar
- 3.5 grams kosher salt
- 1 egg
- 5 grams vanilla extract
- 300 grams all-purpose flour
- Orange and green gel paste food coloring, as needed
- Colored sanding sugar, as desired (I used purple)
- 1 egg white, for assembly

Directions
- In the bowl of a KitchenAid mixer, cream together the sugar and the butter and salt with the paddle attachment on medium speed until the mixture is light and fluffy.
- Add eggs one at a time, followed by vanilla.
- Add flour in 2-3 increments, lowering the speed so it stays in the bowl, and mix only until combined.
- Separate the dough into three parts. Leave the the first batch of 500 grams it's natural color. For a pumpkin design, color 300 grams by mixing the dough with orange gel paste food coloring. Repeat the same process for the last 100 grams of dough, coloring it green.
- Starting with the orange dough, form a log. Shape the log into a pumpkin shape by making a groove down the center of the log and tapering the bottom a bit. Remember the shape is only visible when the cookie is cut, so keep the general log shape, and manipulate it so it resembles the pumpkin shape from the front only. Use any real pumpkin shape for inspiration. Put the dough in the fridge and chill until firm.
- Roll the green dough into a log. Brush the egg white down the center of the chilled orange log’s ridge. Place the green log in the center of the groove of the orange pumpkin-shaped log, and create a form that resembles the stem of the pumpkin from the front. Chill this until firm.
- When the pumpkin log is fully chilled and firm, brush it entirely with egg white. Roll thinner logs of the naturally colored dough, and fit it into any of the grooves around the form you’ve created, starting around the stem. You’re working to build the neutral-colored dough around the pumpkin to encase it in the uncolored dough. Use as many small logs to do this as you need to. Then roll out the rest of this dough very thickly, as long and as wide as your log is. The dough will be about 1-inch thick. Brush your log once more with egg white, and wrap this layer of dough all the way around, enclosing your pattern completely in the neutral-colored dough. Wrap this in parchment paper, and roll it so that it's smooth all the way around. Chill this one more time.
- Remove from the wrapping. Brush the log once more with egg white, and roll it in your colored sanding sugar.
- Cut slices about 1/3-inch thick. You’ll need to cut past the end of the roll to start seeing the clear image. Place these on a lined cookie sheet or sheet pan, and bake in a preheated 350° F standard oven (300° F for convection). Bake just until set and barely light golden, about 8 to 11 minutes.
More recipes from Chef Penny:


