In Mexico and across the world, November 1st is the first day of Día de los Muertos.
Among the many Day of the Dead culinary traditions, one of the most well-known are calaveras, the often ornately decorated sugar skulls so closely associated with the holiday.
ICE LA Pastry & Baking Arts Chef-Instructor Norma Salazar has made many calaveras throughout her career and has picked up plenty of tips along the way.
Calaveras are typically placed on an ofrenda, a decorated altar dedicated to loved ones who have passed on to the next life. That means the skull, the base of which is made with just sugar and egg whites, needs to hold together.
One of the ways that Chef Norma ensures this when making her own calaveras is to make sure that the sugar mixture stays compact and holds its shape before packing it into a mold. If the sugar mixture is still falling apart after the initial mix, you may need to add more moisture.
“The consistency also has a lot to do with the weather,” Chef Norma says. “If it’s humid outside, the sugar may be more moist and you may need fewer egg whites. If you happen to add too much of the egg whites, you can always add another cup or so of sugar to help it firm up.”
Once the calaveras are molded, Chef Norma says you can either bake them in a 200-degree oven overnight or leave them out at room temperature in a dry area for at least 24 hours — the longer the better. Do not put these skulls in the refrigerator, as that will introduce more moisture and compromise the structural integrity.
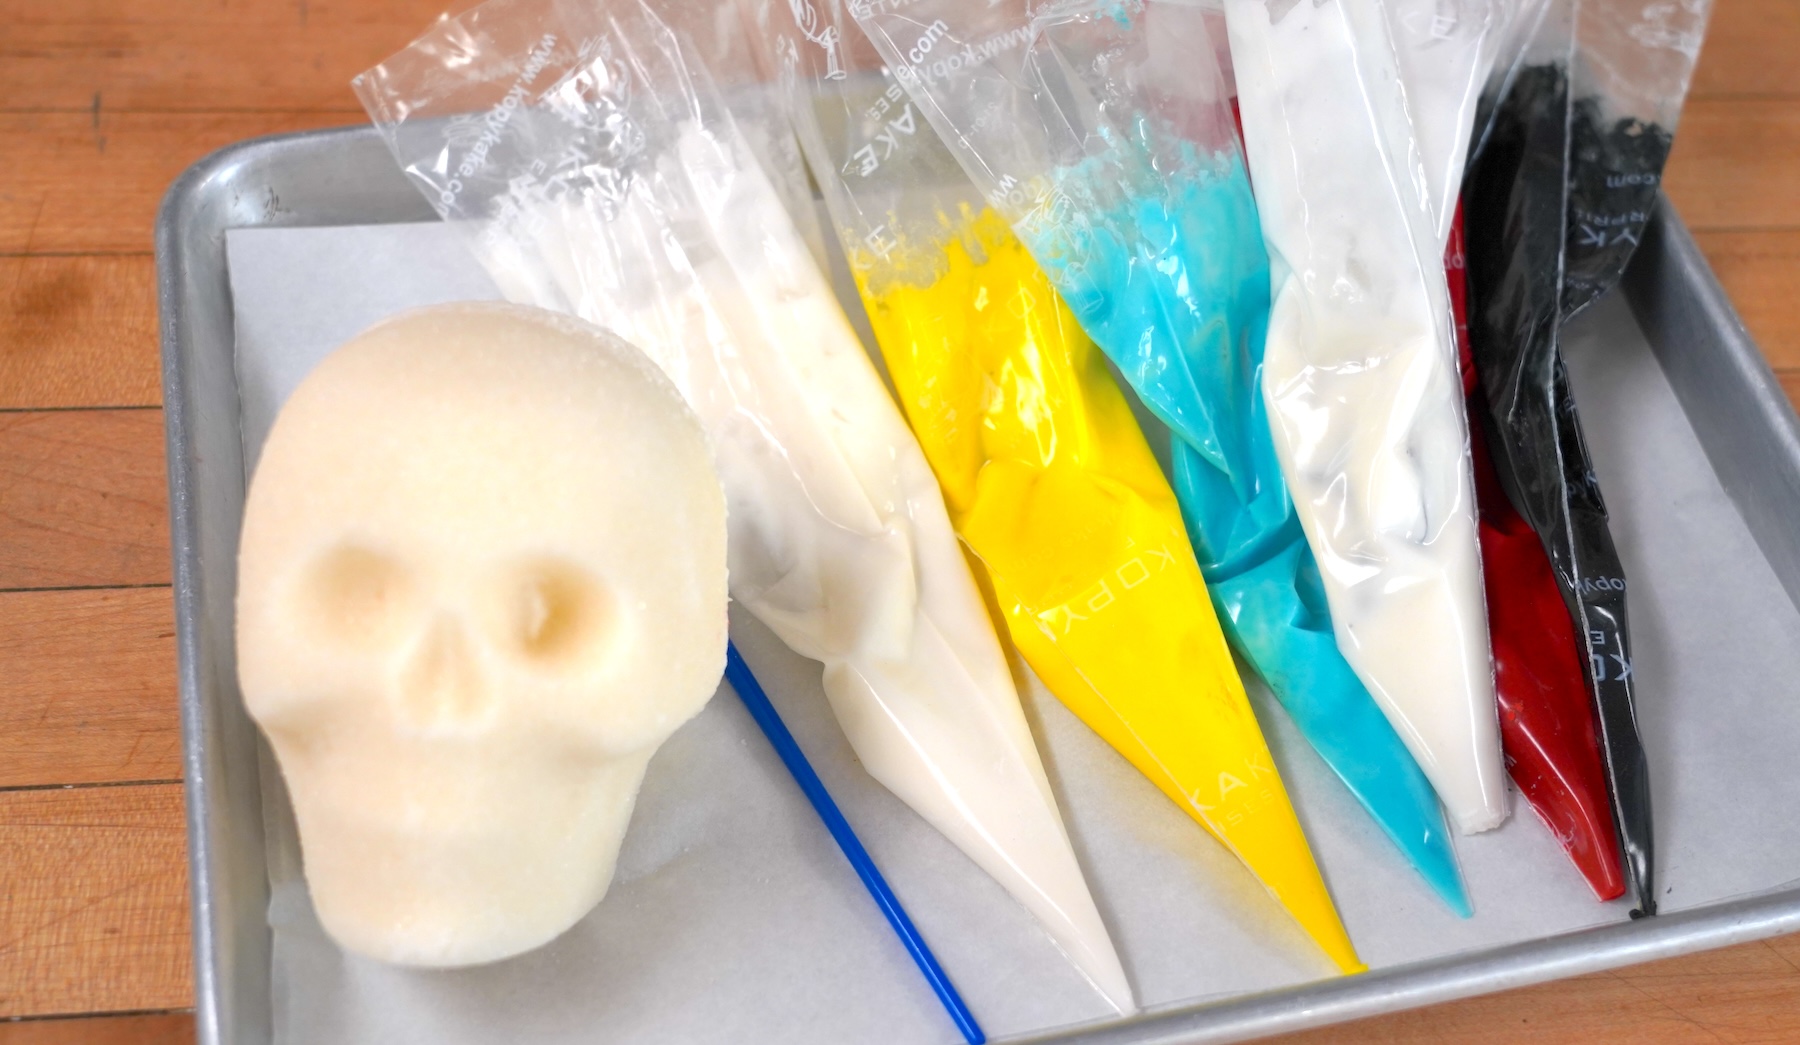
Once the skulls have dried out and are ready to decorate, Chef Norma likes to gently use kitchen shears to clean up the edges. She makes a big batch of royal icing and divides it: one half acts as the glue holding the front and the back of the skulls together, while the other half is dyed in various colors for decoration.
Pro tip: When looking at the back mold of the skull, you can always tell which part is the bottom by the two small stems that stick out.
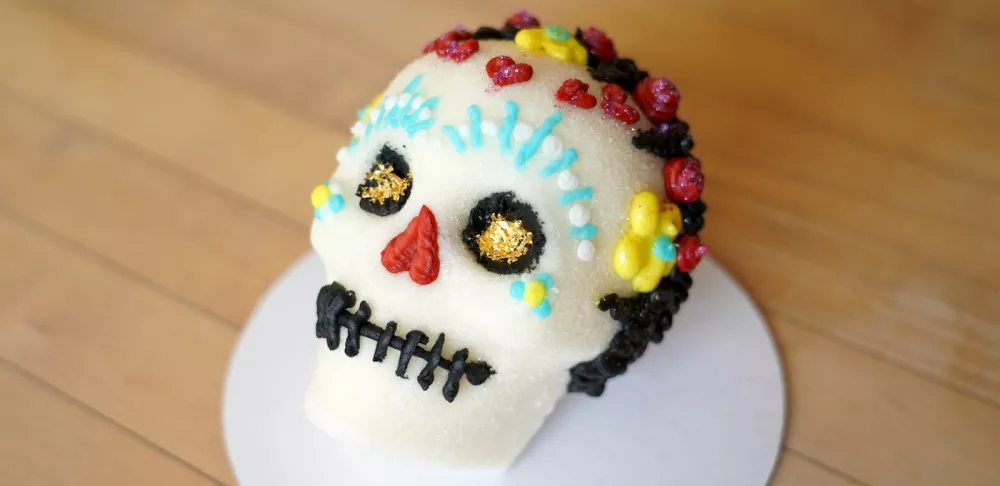
After the front and back molds have been pasted together, Chef Norma lets the skulls sit for about 20 minutes so they can firm up before decorating. One of her go-to decorations is piping “hair” in a circular motion along the seam of the two pieces to hide it.
Then, the calavera is in the eye of the beholder. There’s truly no right or wrong way to decorate, as long as the creator is having fun.
Even though Chef Norma has been making calaveras for years, she still loves them. In fact, pressed sugar sculpting was what drew her to her profession in the first place.
“In [the] sixth grade, we had a craft day close to Easter where we made pressed sugar ‘eggs,’” Chef Norma says. “We took some royal icing and made some pretty decorations on them, just like with sugar skulls.”
She remembers being awestruck when she learned that people made money by making creations like the sugar sculpture she held in her hand. That’s when she knew she wanted to create edible works of art as a chef for the rest of her life.
Whether you’re welcoming your deceased loved ones home for the day, or want to honor the culinary traditions of this beautiful Mexican holiday, here’s how to make calaveras at home.
Calaveras (Sugar Skulls)
Makes at least one sugar skull depending on the size of your mold

Ingredients
- 6 cups sugar
- 2–3 egg whites (or more as needed)
- 3–4 cups royal icing (as needed)
- Food dye to color royal icing
Equipment needed:
- Sugar skull mold
Directions
- Mix sugar and egg whites together in a bowl until the mixture feels like wet sand and holds together on its own when you pull a handful out of the bowl.
- Fill the front skull and back skull molds with the sugar mixture and press firmly. Scrape any excess off of the back with a bench scraper or knife.
- Gently unmold onto a parchment paper-lined baking sheet.
- Repeat with the remaining mixture until you run out. Make more of the sugar mixture as needed to make sure you have an equal amount of front and back skull pieces.
- Let skulls bake in a 200°F oven for 30 minutes to overnight (if the oven can safely operate overnight) or leave them out uncovered for at least 24 hours. The skulls should be fully dry before moving to the next step.
- Once the skulls are dry, pipe white royal icing in between the front and back pieces and glue each skull together. Let sit for about 20 minutes before decorating.
- Using royal icing, candy, beads and whatever other decorations you like, decorate the skulls. Let them sit for another 20 minutes or so to firm up before displaying.