In the realm of culinary careers, food styling has historically gotten a bit of a bad rap. From mashed potatoes standing in for ice cream to marbles boosting the hearty look of a soup, it’s a profession that was once better known for trickery than honest beauty. Thankfully, recent trends in food media are pointing toward the less polished look. Among the media outlets popularizing this more natural approach to food styling? The celebrated source for all things cooking, Food52.
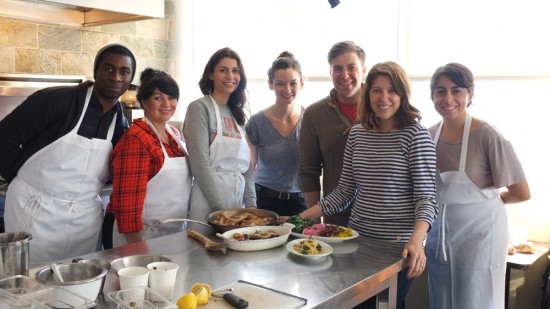
Yet—however more appealing it may be—this approach to styling isn’t without its challenges. Narrowing your primary tools to good lighting, beautiful props and high quality raw ingredients makes a talented food stylist’s skill—and speed—even more valuable. That’s why ICE was thrilled to offer a food styling workshop with Food52’s own Executive Editor (and ICE Culinary Arts alum!), Kristen Miglore and Freelance Stylist, Kristy Mucci.
Tailoring the workshop to a group of current and aspiring culinary professionals, Kristen and Kristy started off with cooking tips for photo shoots, emphasizing that their goal at Food52 is always to make a dish look beautiful, but achievable. The benefit of this home-cooked philosophy? Every dish they style is edible. Here’s how:
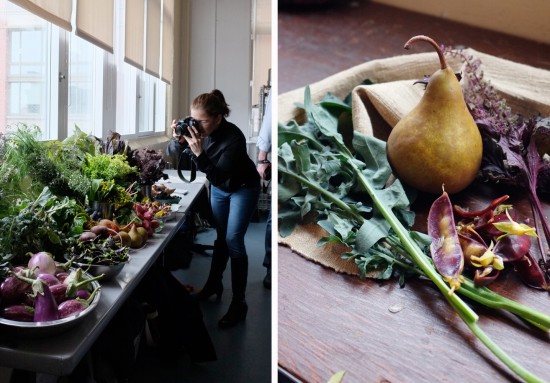
- Start with great ingredients. This is the time to splurge at the greenmarket. Find the most beautiful products you can, as they’re the base on which you’ll build a beautiful plate.
- Think about how food will change over time. Whether you’re tossing a salad or icing a cake, think about how your ingredients will transform over the course of the cooking process—and how quickly they’ll wilt, melt or dry up while waiting for their close-up.
- Go easy on the salt. If you’re looking for a golden-brown crust on your steak, salt is your friend. But if you’re sautéing vegetables, wait to season them until after the shot, as the salt will break down their structure as they cook.
- Give it a spritz. Recapture that freshly-cooked look with a few well-placed drops of olive oil or a light spray of water.
- The two-part freeze. For objects that melt easily (like ice cream), scoop them into the shape you want, and then put them back in the freezer on a sheet pan. That way, each painstakingly crafted quenelle or spherical scoop will have the longest shelf-life possible. (Added tip: When working under hot artificial lights, professional stylists often sift pellets of dried ice over easily-melted objects.)
- Don’t be afraid of the mess. Gently place your base components on a plate, then reposition any stray bits and add extra ingredients for texture or color. If you try to individually plate every strand of pasta or salad leaf, your plate will never look natural.
- Clean without chemicals. Don’t use Windex on perfectly edible plates of food. Clean streaks or fingerprints with cotton balls or q-tips dipped in a solution of white vinegar (or vodka) and water.
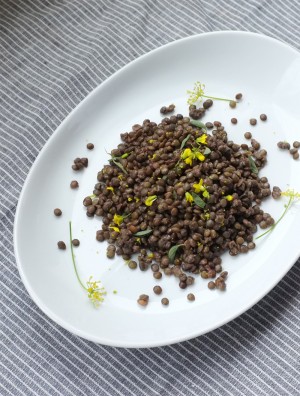
As the class moved through a series of exercises—a still life, a pasta dish, a salad and the ever-challenging category of “brown food”— Kristen and Kristy also shared a few of their theories on what makes (and how to consistently achieve) a great shot:
- Focus on the food. If your content is all about cooking (or eating, for that matter), then make the food your focus. Don’t be afraid to keep the styling simple or zoom in for a close-up.
- Shoot raw ingredients and finished dishesseparately. As Kristen and Kristy aptly pointed out, there’s a common trend where food stylists use raw ingredients to decorate a shot of a finished dish. Instead, they suggest preparing two separate photographs: a beautiful “before” shot of the raw ingredients and a plated “after” shot to demonstrate the end goal.
- Explore the negative space. Have you ever eaten something so delicious that you forgot to grab a photo? That’s the idea here. Sometimes crumbs, a leftover streak of sauce or a rumpled napkin tells as much of a story as a perfect-looking plate.
- Go through the motions. If there are utensils in your shot, think about where you would most naturally place them. (Additional pro tip: Struggling to prop up your fork at a certain angle? Little balls of wax are a perfect non-toxic tool.)
- Get a safety shot. Does that roasted chicken look pretty good in the pan? Are your pancakes stacked up perfectly pre-syrup? Take the good shot while you have it, and then consider plating your chicken or attempting to get that coveted syrup-pouring shot. If those efforts fail, at least you have that first shot in the bag.
- Give yourself more than one option. Always have an extra plate, bowl, or utensil or two on hand. Sometimes it takes a few tries to create the perfect shot.
- Keep your eyes open. Sometimes the best photos aren’t the ones you plan. The more time you spend styling and shooting food, the more you’ll begin to notice the visually stunning moments that are a natural part of the process of cooking.
For more information about food styling and media classes at ICE, click here.