Sous vide cooking is one of the fastest growing trends in modern cooking, among restaurant chefs and home cooks alike. Despite the fact that sous vide was first used in restaurants around the same time that microwave ovens hit the market for home cooks, it’s still viewed as a very new technology. But one thing that has really changed about sous vide over the past 40 years is the price.
Sous vide equipment used to carry a price tag (around $1,000) that put it out of reach for most cooks. Today, the average home cook (or professional for that matter!) could be expertly equipped for sous vide cooking for $200 or less. And once you go vac, you’ll never go back. (See what I did there? Sous vide translates to under vacuum. Vac, vacuum...get it?)

The three main reasons for cooking food sous vide are: precision, consistency and convenience. At its core, sous vide cooking is all about precision temperature control — foods are cooked to the exact temperature of their desired doneness.
For example: say you like your steak medium-rare. You could do one of two things: One, throw your steak on a grill that is somewhere around 375˚F and leave it there, watching closely, trying to anticipate the moment when the center of that steak is approaching 128˚F and quickly remove the steak to let it stand while the still-searing-hot surface continues to raise the steak's internal temperature (aka, carryover cooking).
Or, you could heat a container of water to exactly 128˚F, place a steak inside a plastic bag (no need for special equipment, a zip top bag is fine) and cook it for anywhere from 45 minutes to four hours (since the outside temperature is the same as the internal, your steak is never going to overcook). And once you decide your favorite temperature for steak doneness, you can cook it consistently to that exact temperature.
Sous vide cooking also eliminates the need to precisely time when things finish cooking. Once cooked through, sous vide foods can be held in the hot water for up to two hours before serving. Or, if properly chilled after cooking and kept refrigerated, foods could be cooked more than two weeks in advance with zero decline in flavor or freshness.
I have been teaching sous vide cooking to students, professionals and home cooks at ICE for over five years, and my wife and I do a lot of sous vide cooking at home. If sous vide seems like too much effort for a home cook with a full work schedule and a family, let me persuade you to consider otherwise: With a busy schedule and two kids, the convenience and quality cannot be beat.
What's more, the sous vide method is easier than you think. Additionally, for roughly the same amount of time, I have been part of The Official Jets Cooking School — helping Jets fans (and football fans in general) take their tailgating game to the next level. I’m a lifelong football fan and have always loved a good tailgate.
As a chef, I don’t mess around when it comes to the food, which is why I love bringing sous vide to the tailgate. I cook my steak, even bacon — trust me on this — at home a day or two before the game. Then I quickly chill the cooked meat in an ice bath before holding it in the fridge or packing it in the cooler and heading for the stadium.
If you’ve had the pleasure of participating in a proper tailgating experience, you know that sometimes the liquid pursuits at the tailgate can lead to, shall we say, “inattentiveness” at the grill.
That’s never the case with sous vide: Because everything is already perfectly cooked, you show up and all you need to worry about is heating things up and learning how to humbly accept all the compliments that will be coming your way.
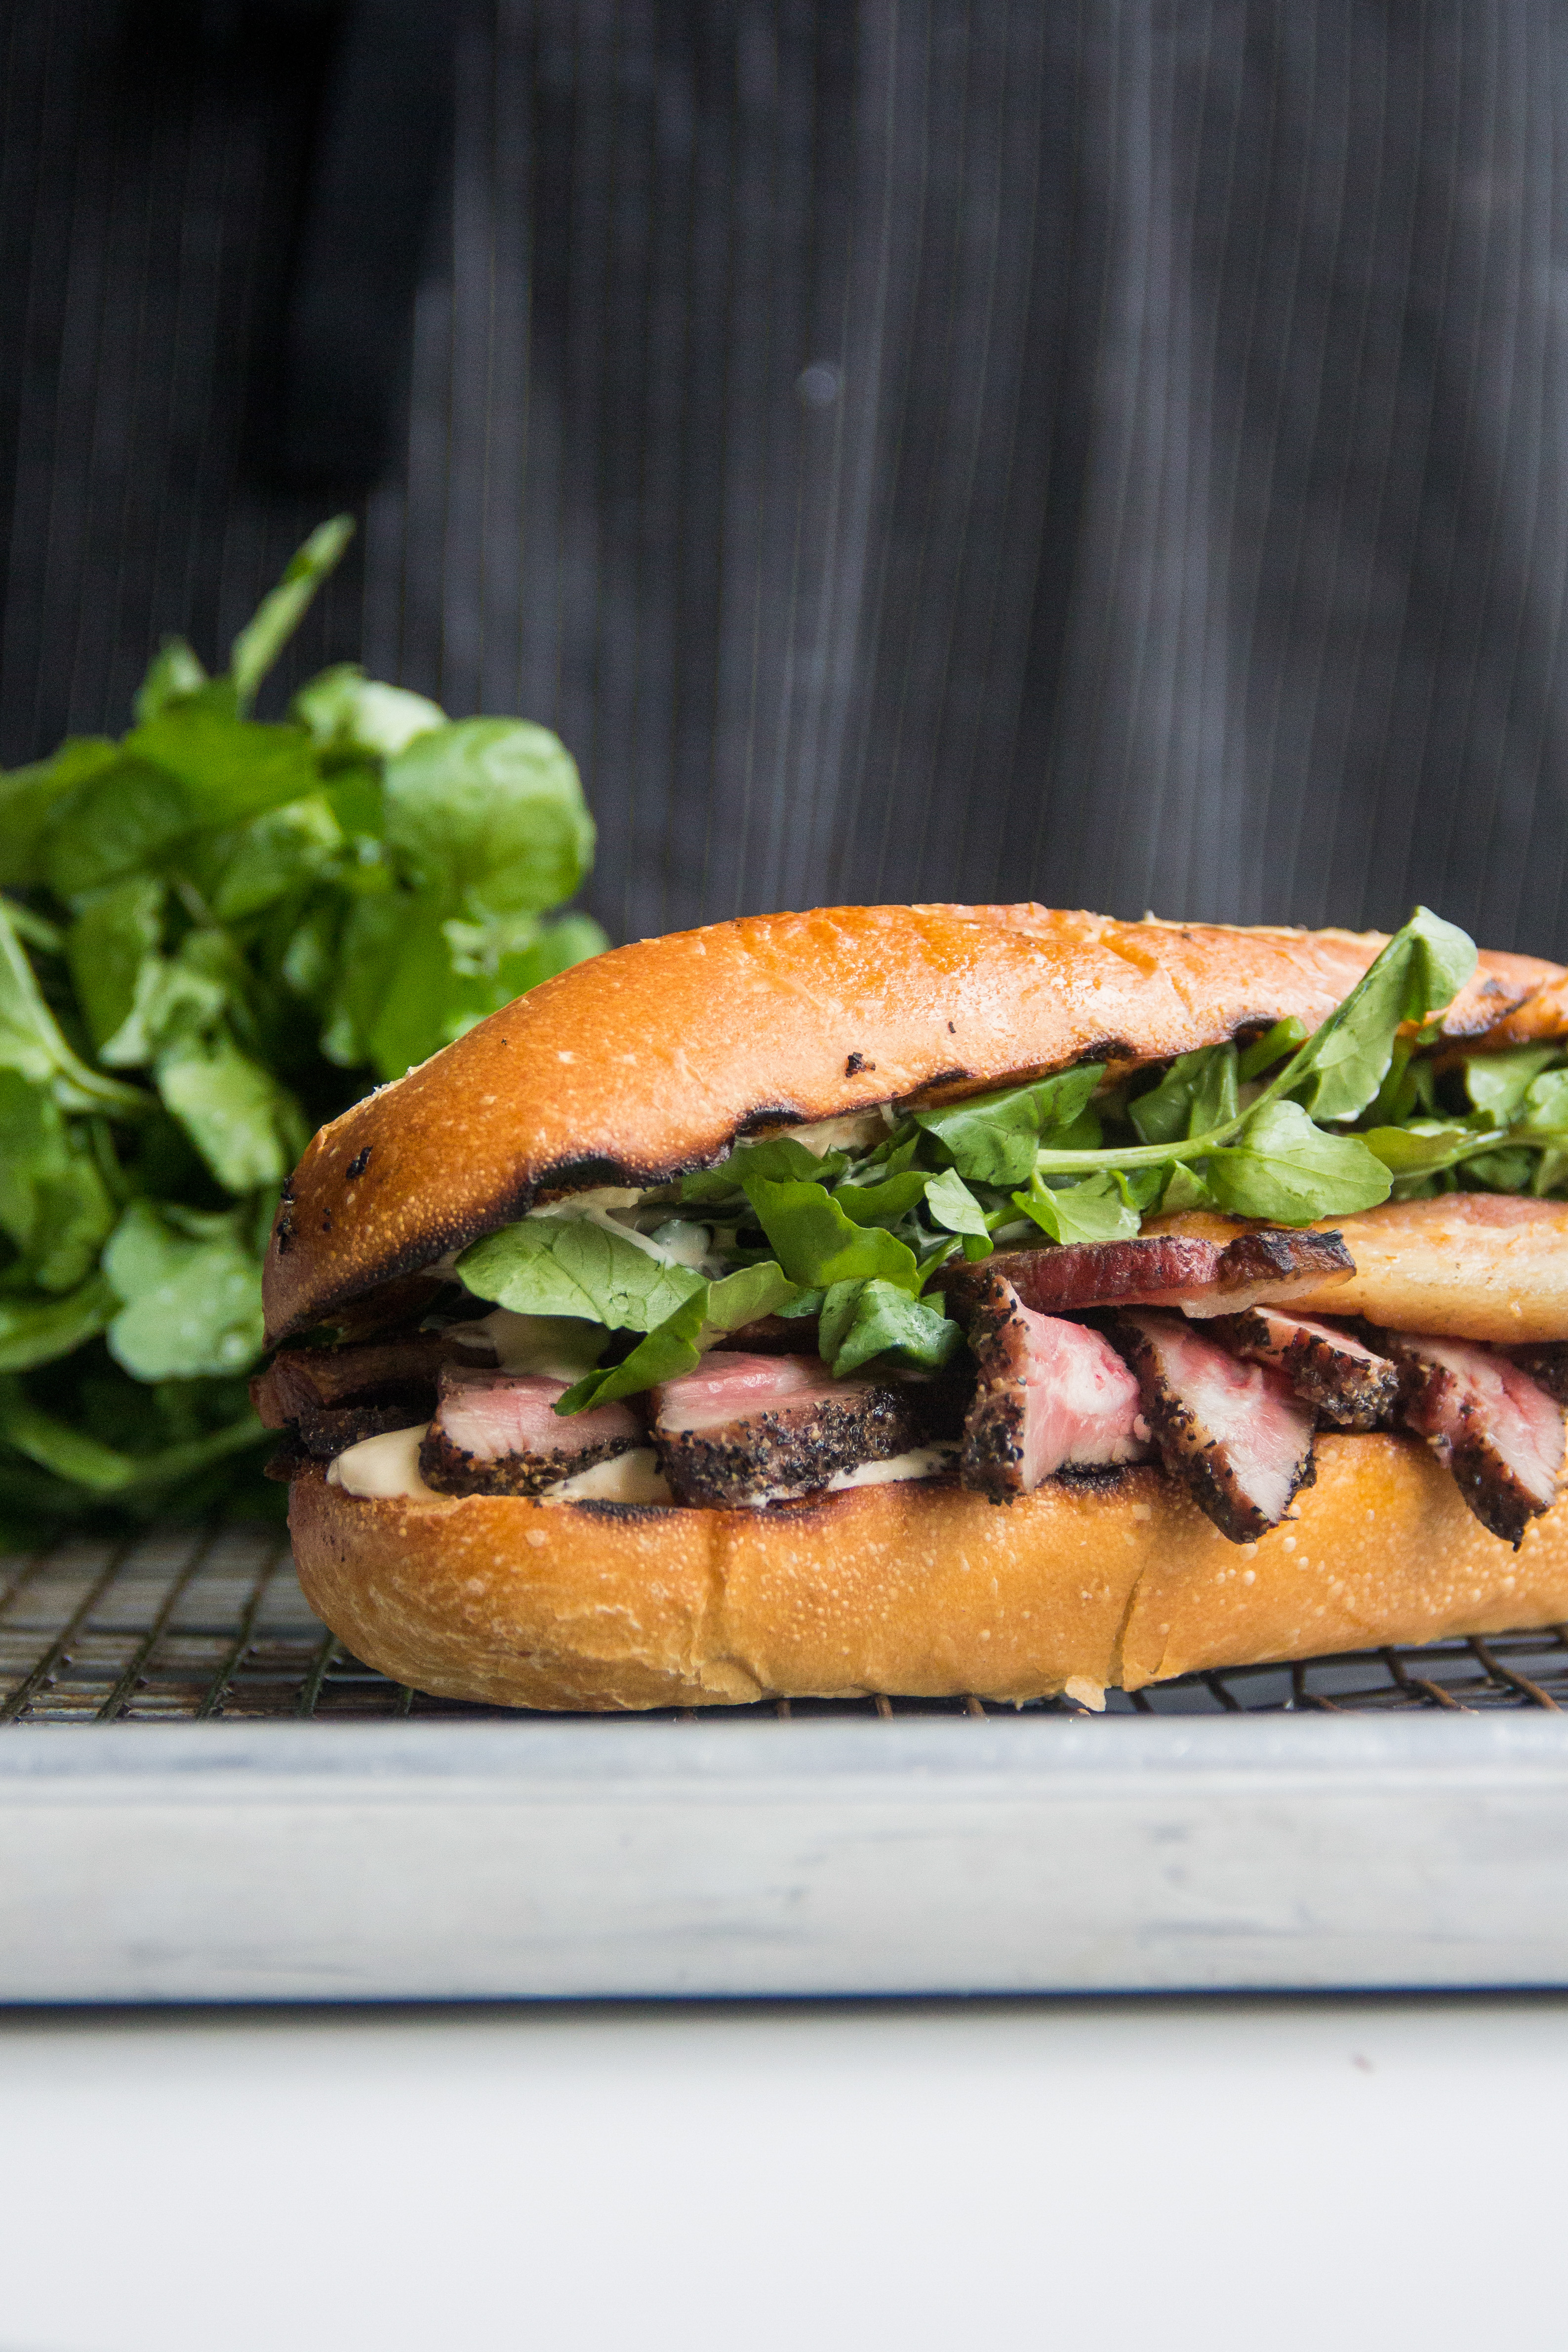
Here, I’m sharing with you my favorite tailgating recipe: Sous Vide Peppercorn Crusted Flank Steak and Bacon Sandwiches — take that, overcooked burgers!
Sous Vide Peppercorn Crusted Flank Steak
Servings: makes enough for 8 sandwiches
Recipe note: Cooking bacon sous vide may seem unnecessary, but if you’ve ever tried to cook bacon over a live fire, you know what a dangerous prospect this could be. Precooking bacon eliminates some of the fat that causes flare-ups and minimizes the time you need to have the bacon on the grill, which reduces your chances of burning it!
For the brine
Ingredients:
- 1 quart water
- ¼ cup kosher salt
- 2 tablespoons light brown sugar
- 1 tablespoon smoked paprika
- 1 tablespoon granulated garlic
- 2 teaspoons black pepper, freshly ground
Preparation:
- Combine the water, salt, brown sugar, smoked paprika, garlic and pepper in a bowl and whisk until dissolved.
- Transfer the brine to a one-gallon zip top bag; add the steaks, squeeze out any air and seal. Refrigerate overnight or for a minimum of 4 hours.
For the steak
Ingredients:
- 1 piece flank steak, about 2 pounds, cut into 4 pieces
- Black pepper, coarsely ground
- 12 slices extra thick cut bacon
- Horseradish cream (recipe below)
- Watercress or arugula, as needed
- Rolls, toasted
Preparation:
- Remove the steaks from the brine and discard the liquid. Pat the steaks dry and coat on both sides with black pepper.
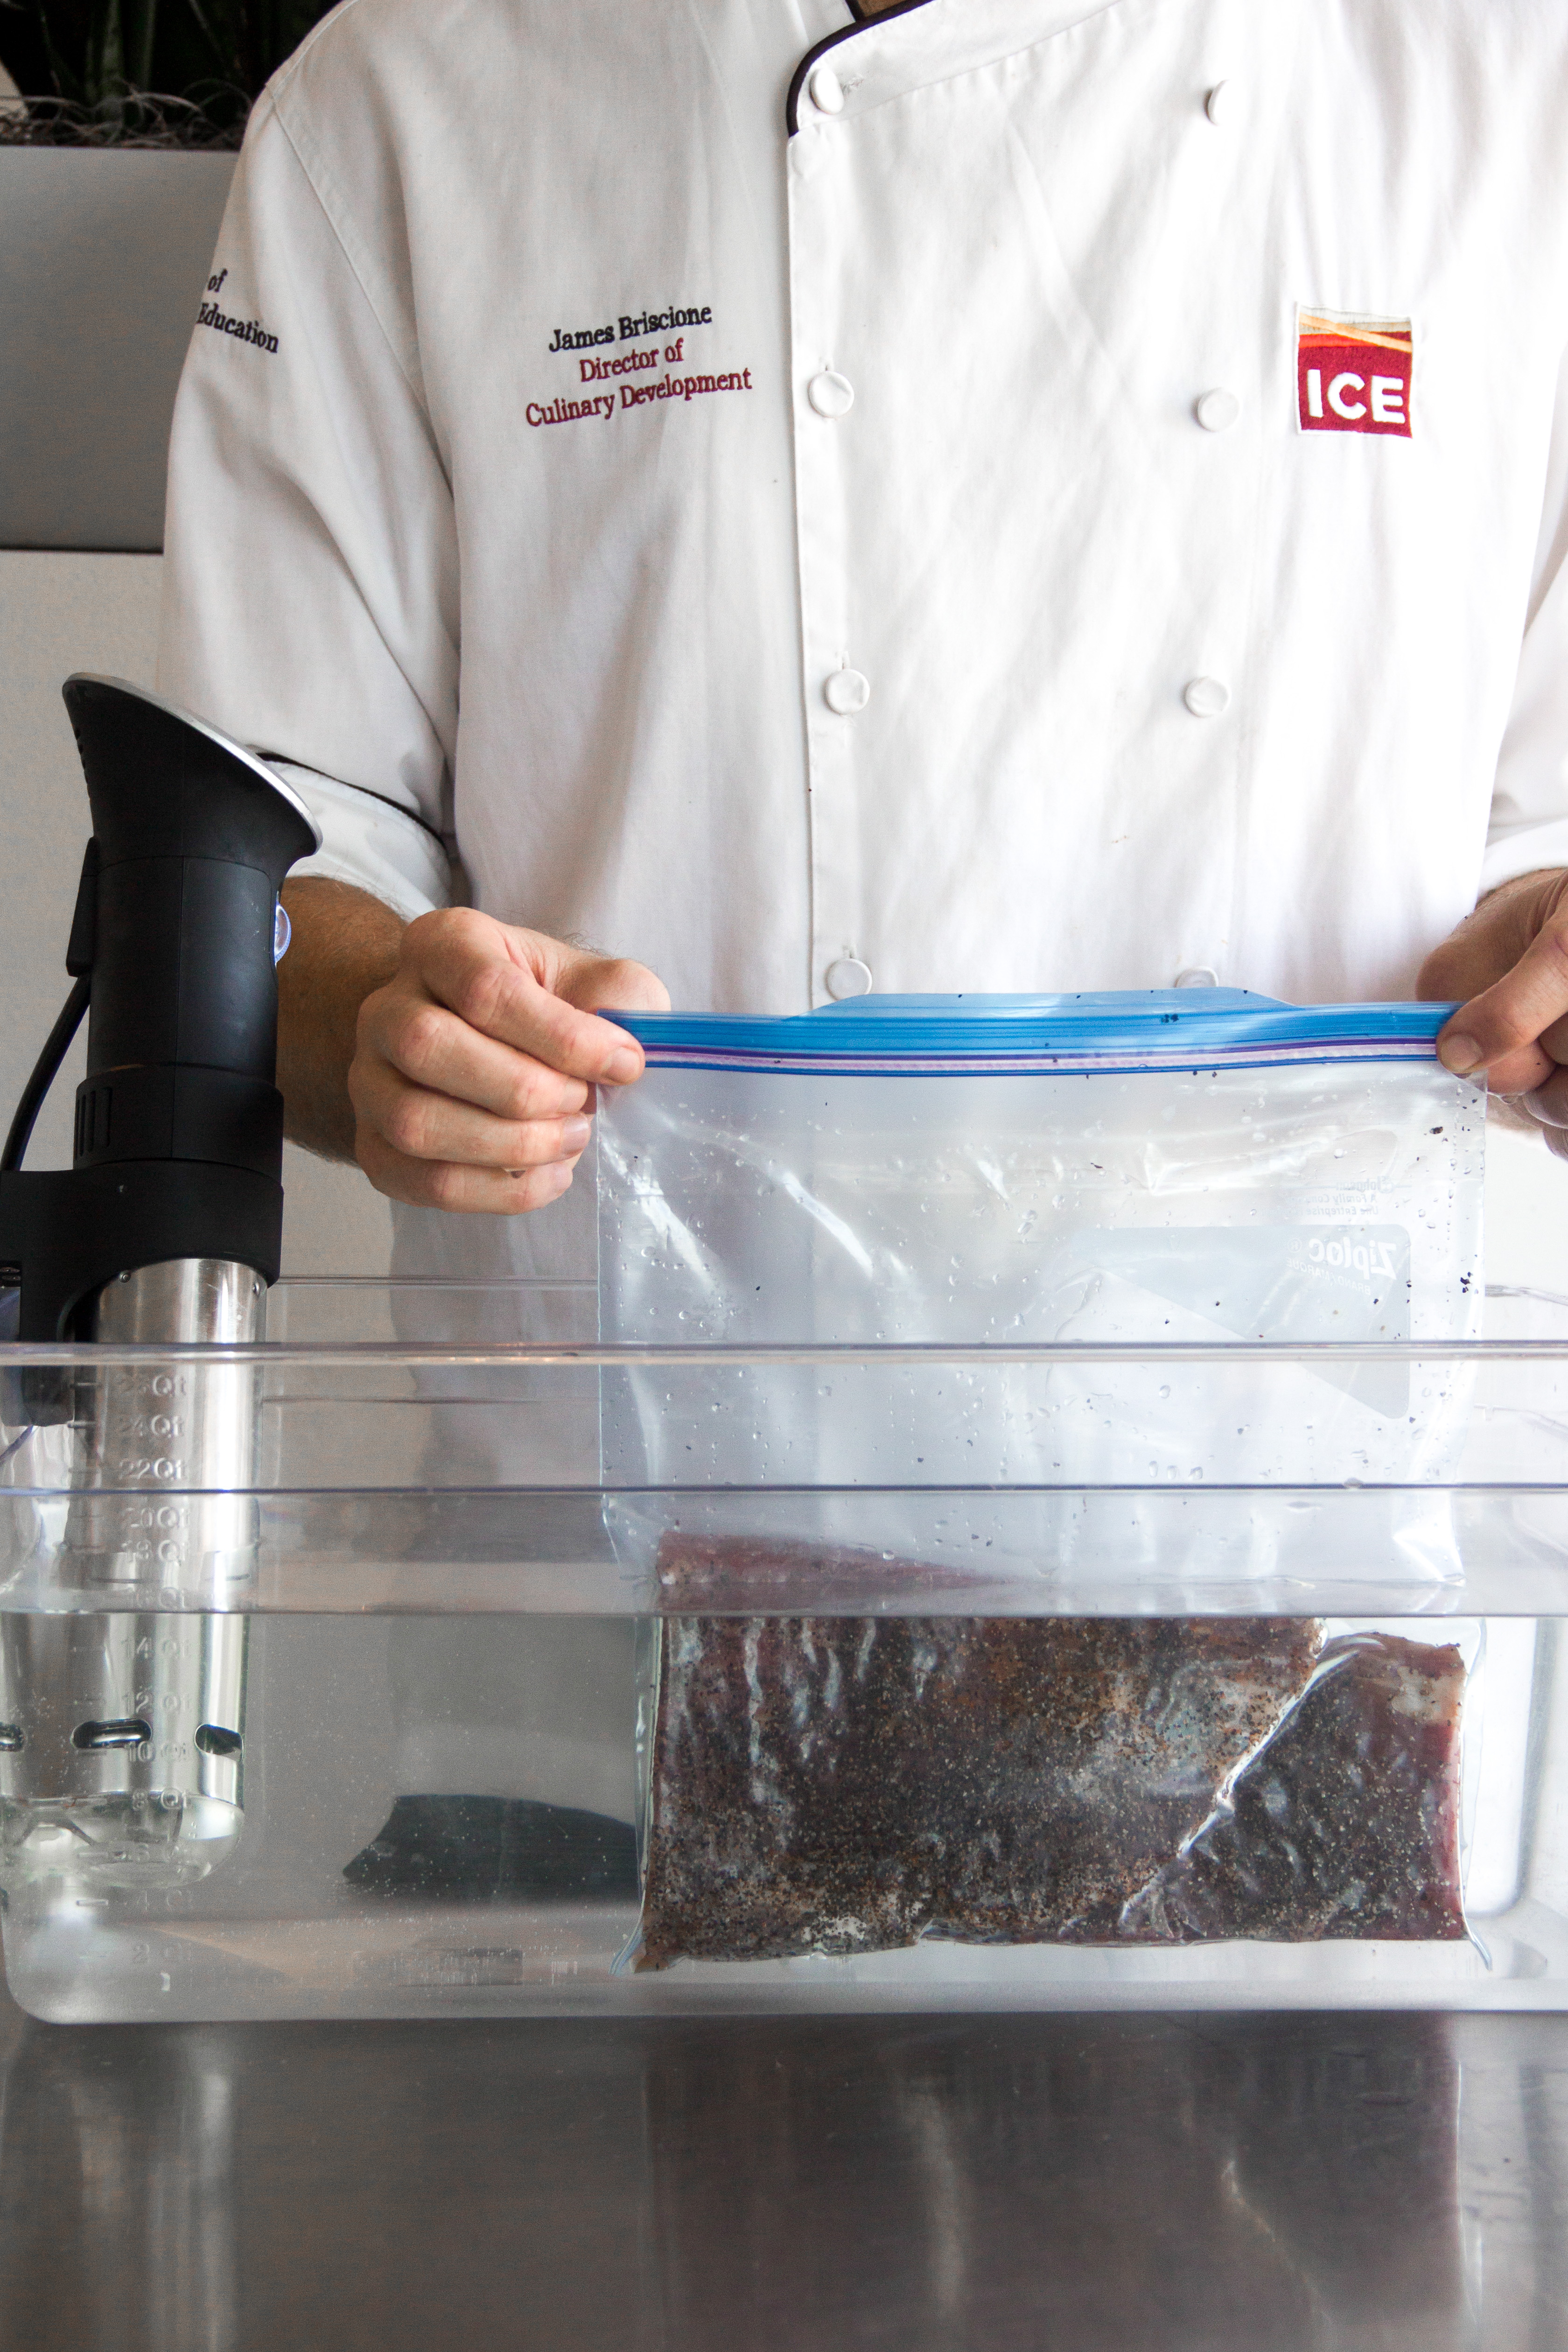
- Return the steaks to the zip top bag. To seal the bag, submerge the bag with the steaks into a bowl of room temperature water, pushing the steaks below the surface of the water to force any air out of the bag. Continue lowering the bag into water until just the sealing strip remains above water. Press the bag closed and remove the steaks from the water — they should be tightly sealed. If any air remains in the bag, repeat the process.
- Repeat the above-described process with the bacon, sealing the bacon in a separate bag.
- Heat a water bath to 57˚C (134.5˚F). Add the steaks to the water and cook for two hours.
- When the steaks are done, remove from the water and transfer immediately to a bowl of ice water to cool quickly. Leave the steaks submerged in the ice water for 30 minutes, then store refrigerated for up to two weeks or frozen for up to six months.
- Increase the temperature in the water bath to 66˚C (151˚F) and add the bacon. Leave the bacon to cook overnight (8-12 hours). When the bacon is done, remove from the water and transfer immediately to a bowl of ice water to cool quickly. Leave the bacon submerged in the ice water for 30 minutes, then store refrigerated for up to two weeks or frozen for up to six months.
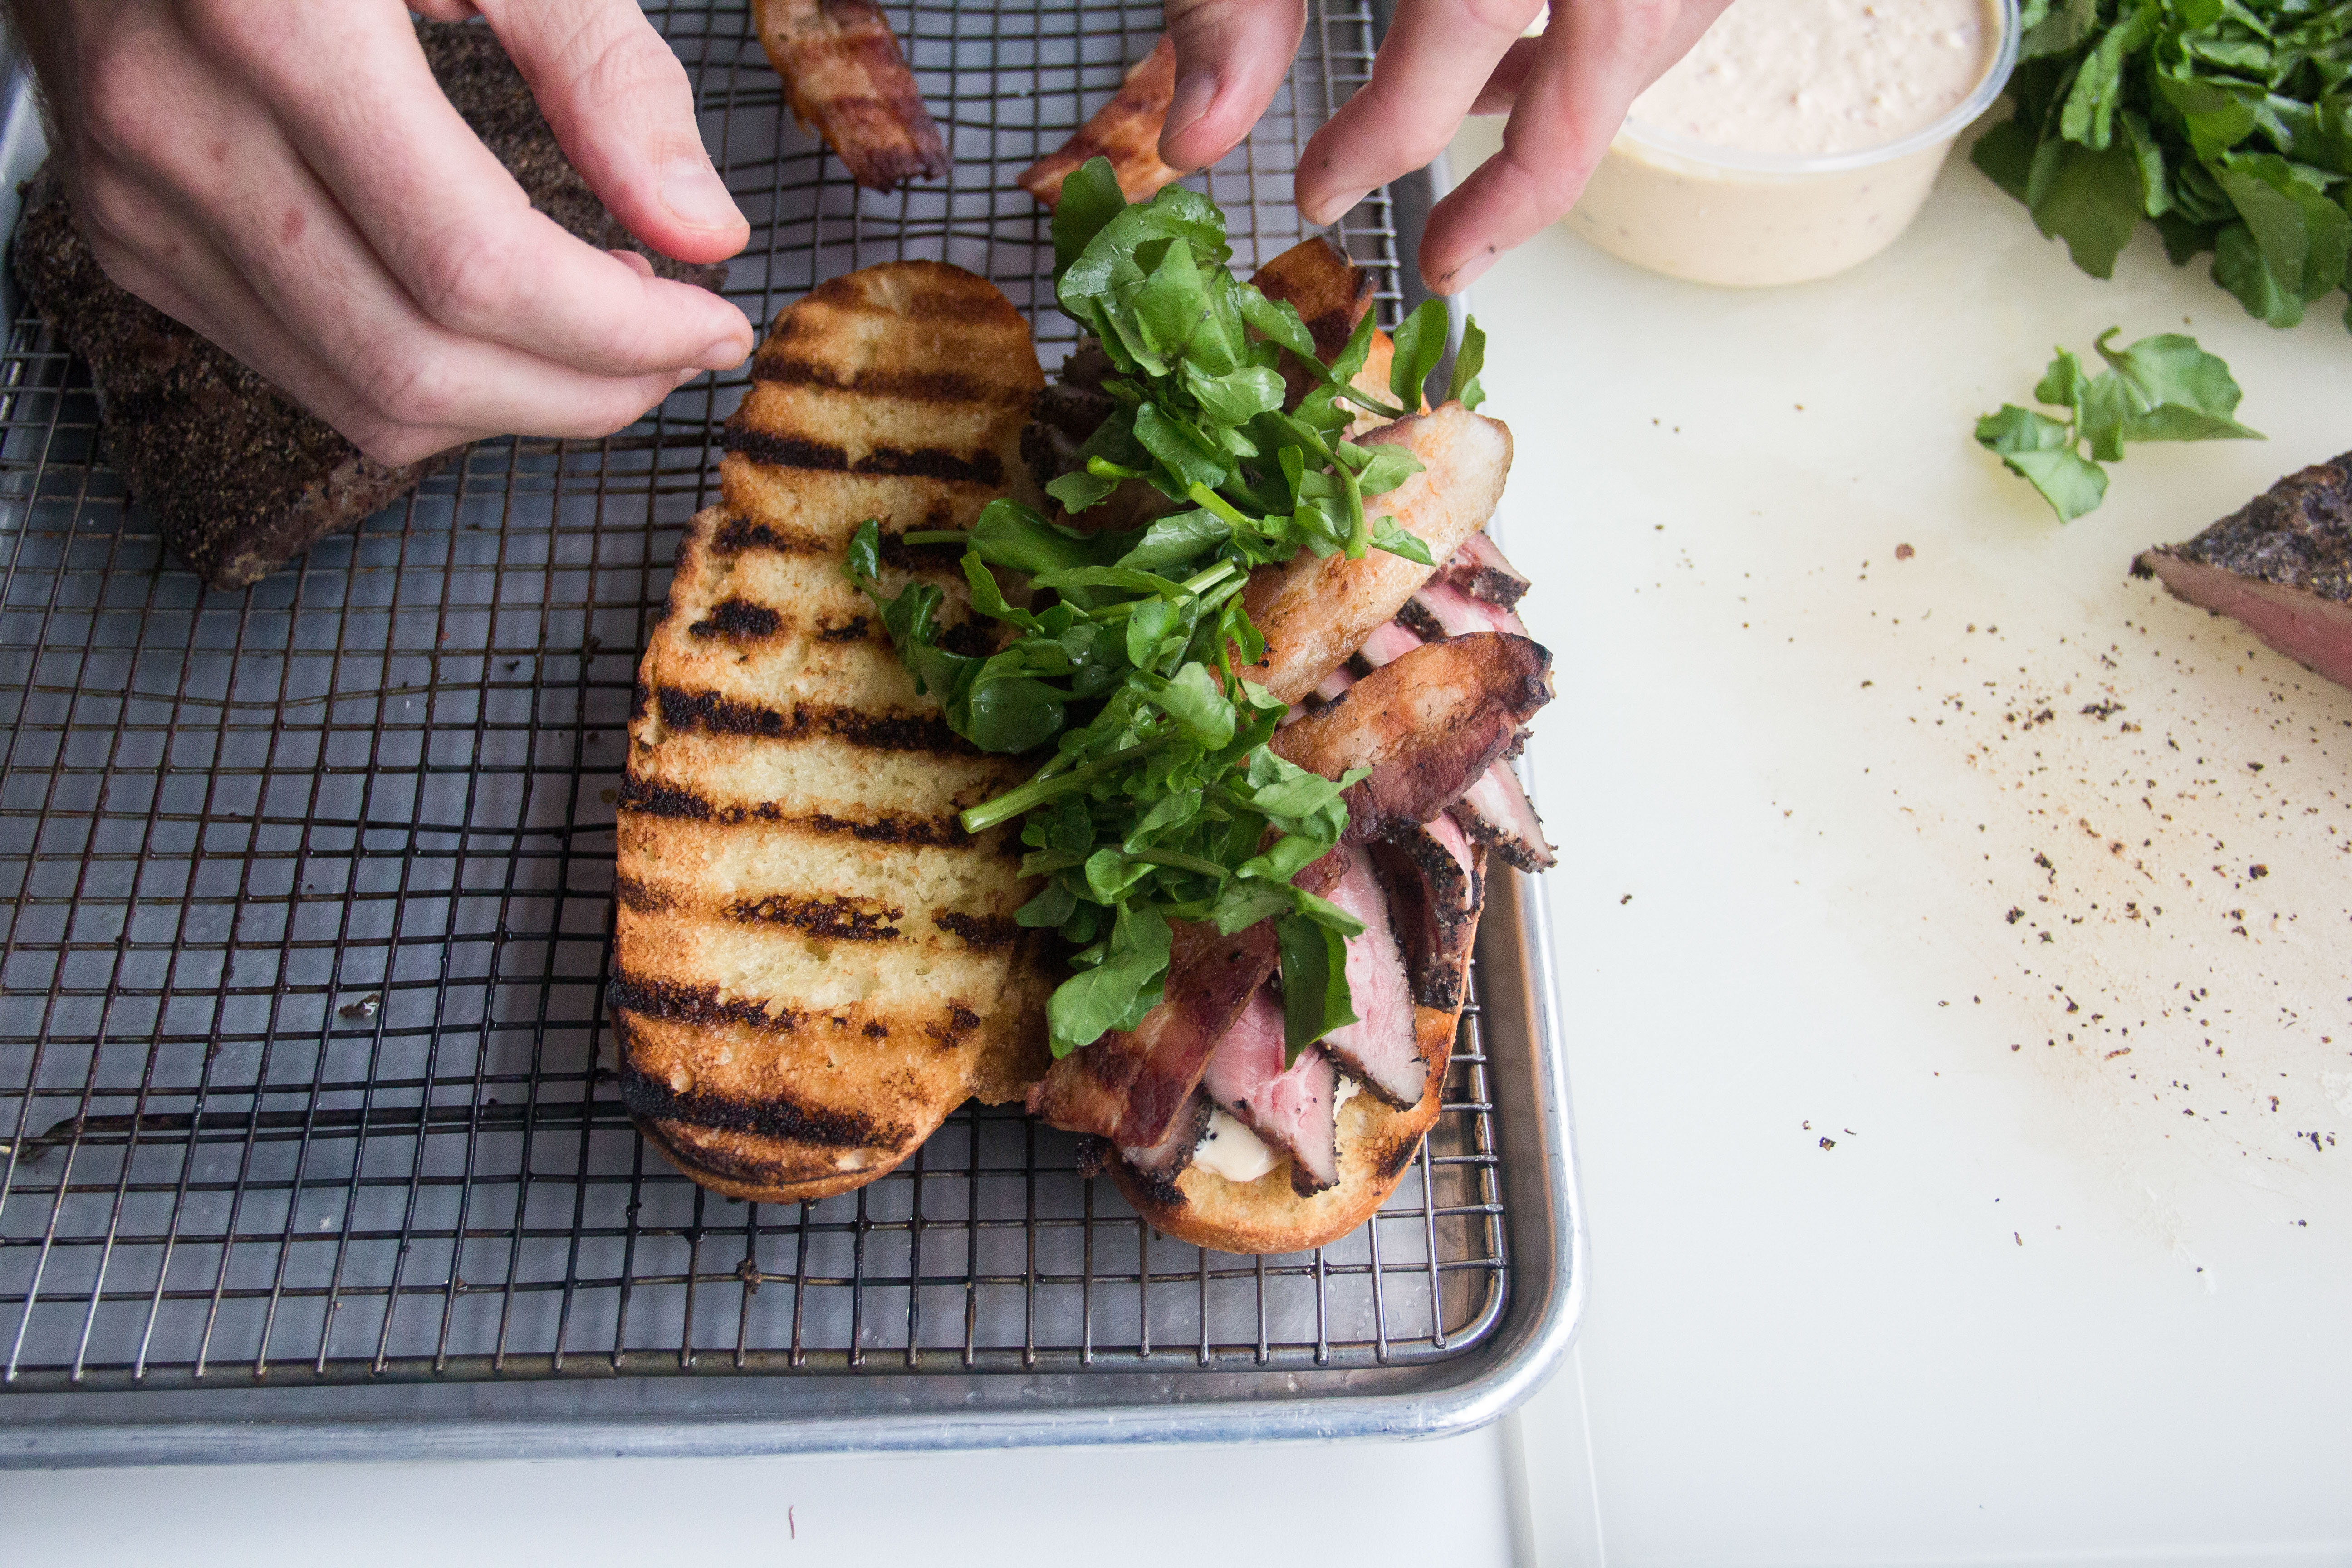
- To serve, allow the steaks and bacon to reach room temperature (they are safe to sit out for up to three hours since both are fully cooked) or quickly reheat both — still sealed in the bag — in a pan of warm water. Quickly sear the steaks and bacon on a hot grill (about one minute per side for the steaks and just 30 seconds per side for the bacon). Thinly slice the steak against the grain and serve on toasted rolls with the bacon, horseradish cream and watercress.
 For the horseradish cream
Servings: makes about 1 pint
Ingredients:
- 1 cup mayonnaise (preferably homemade)
- ½ cup crème fraîche or sour cream
- ¼ cup prepared horseradish
- 1 tablespoon whole grain mustard
- 1 tablespoon Sriracha
Preparation:
- Combine all ingredients and mix well. Season to taste with salt and add more hot sauce if desired.
- Store refrigerated in an airtight container for up to two weeks.
Want to get in the kitchen with Chef James? Click here for more information on ICE's Culinary Arts program.


