There are dishes you learn to cook to impress friends and relatives. Others you learn to prepare a traditional holiday dinner. Then there are the dishes that you learn as basic life skills—cards you can pull from your sleeve on any given day, during any season, and your dinner guests, even the pickiest of them, are bound to be satisfied. Homemade pizza falls into this last category. With a base comprised of just a handful of ingredients—flour, water, salt, yeast and olive oil—you can throw together a pizza using what’s already in your cupboard, adding a few fresh toppings to give it that gourmet touch.
To master this very essential life skill, I took the Homemade Pizza course with Chef Sue Gonçalves last Saturday at the Institute of Culinary Education. We measured, we mixed, we stretched (the dough) and, ultimately, we feasted. In the course of preparing one focaccia and two thin-crusted pizzas, I picked up some tips for crafting your best homemade pie. Though I highly recommend taking the class yourself—for the first-hand experience and because Chef Sue brings a fun, easygoing energy into the kitchen—I’ll share my tips to whet your appetite for homemade pizza making.
- Know your ingredients – Always review your recipe and ingredients before you begin mixing the dough. As I quickly learned in class, if you mistake cornmeal for yeast, your dough is not going to rise. Period. You’ll have to begin the dough mixing process all over again, and while your classmates are moving on to focaccia, you’ll still be kneading your first pizza dough.
- Watch your time – We used a recipe that called for active dry yeast. This will accelerate the rise and with the right temperature (either in a warmish room or a proofing box), the dough rising process should take an hour or so. You want to allow the dough to rise until it has doubled in size, but not much longer. If you’re planning to use the dough the following day, refrigerate once it has risen to halt the rise.
- Start from the middle– Once the dough has risen, it’s time to stretch it. You’ll notice that pizza dough has a wonderfully stretchy texture. It’s very tempting to dive into stretching and twirling the dough overhead. Not so fast. To begin, place your dough ball on a lightly oiled surface, and, using your fingertips, gently prod the dough beginning in the middle and pushing outward. Work your fingers around in circles to slowly stretch the dough in all directions. Continue until your dough is a large, mostly flattened circle, slightly thicker on the edge and not too thin in the middle. If your dough is too thin in the middle, it won’t be able to support the toppings and may burn if you try to bake it anyway.
- Don’t dress on the table– A classic rookie move is to dress the dough on the table and then attempt to transfer it to your baking surface. Always stretch the dough on your table and transfer to a wooden peel (or pan if you are cooking in a regular oven) before adding toppings.
- Brush on the olive oil – To get that crispy, crackly crust, use a brush to slather on some olive oil. Use a flavorful extra virgin olive oil for maximum flavor points.
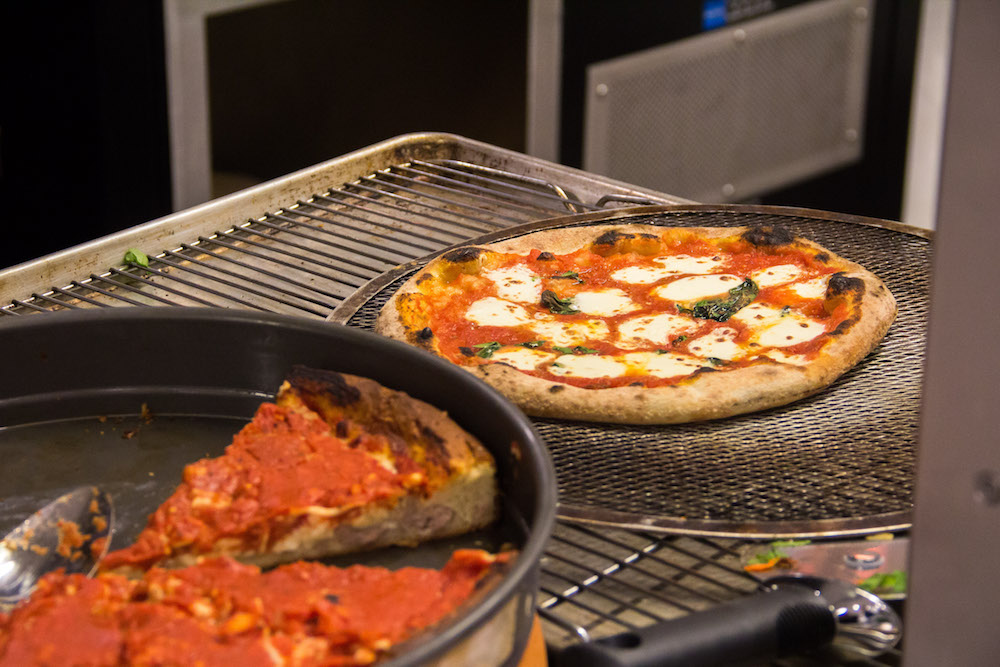
- Cornmeal the peel– You know how the bottom of your pizza is always dusted with those golden speckles? That’s cornmeal! Sprinkle some on your wooden peel before spreading your dough on it. That will help you shimmy the dough, as Chef Sue says, off the peel and transfer it into your pizza oven.
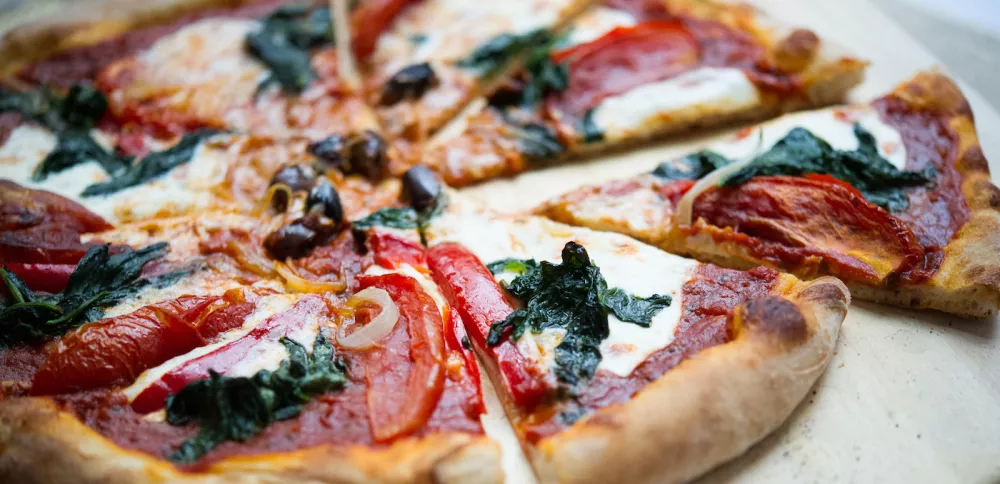
- Less is more…with sauce– You may have the urge to get wild with the sauce—that gorgeous color, that rich, vibrant flavor. But the truth is, too much sauce makes for soggy, weak crust. To ensure your pizza will have a sturdy base, especially if you eat your pizza New York-style (grab, fold, devour), go easy with the sauce.
- Hide the basil– How does one achieve a Margherita pizza, with basil baked into the pizza, without burning those lovely herbs? Sure enough, laying fresh leaves atop your cheese and baking them in a 500+ degree oven will singe those babies and render them bitter herb crisps. The answer: add the basil on top of the sauce, then top with cheese. The cheese layer will protect your herbs from burning.
Pizza making is an art. Prepare it yourself and you'll appreciate your next corner slice more than ever. With the above tips in mind, learned from Chef Sue Gonçalves of ICE, you’ll be one step closer to mastering your homemade pizza craft.
Want to learn to make pizza and other delicious dishes? Check out our upcoming recreational courses!