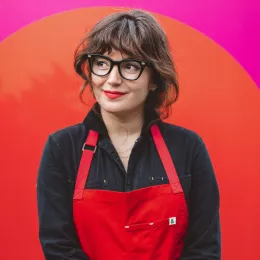
If you think red lipstick is only useful as makeup, you haven’t had to make an unripe tomato look camera ready. That’s one of the tricks that Denise Vivaldo and Cindie Flannigan, co-authors of “The Food Stylist’s Handbook,” taught students during their workshop at our Los Angeles campus.
A seasoned food professional with more than 30 years in the industry, Denise began her training at the Ritz Escoffier and LaVarenne in Paris and then graduated from the California Culinary Academy in San Francisco. Over the course of her career, she’s cooked for such notable guests as Prince Charles, George H.W. Bush and Arnold Schwarzenegger. Her roster of celebrity clientele led to work in television media where she has since helped productions, food manufacturers, grocery chains, chefs, authors and restaurants present their food in a picture-perfect manner.
Denise warns that pursuing the food photo sector of the industry requires tenacity. “It’s hard work. You have to have great client relations and a vision of beauty,” she says. Culinary students, however, may have a leg up in the field of food styling. “Everything chefs learn and experience from professional kitchens will help you: timing, budgets and labor. You are in charge of all those issues as a stylist.”
So how exactly do you make picture-perfect food?

Denise and Cindie revealed a few secrets, including a recommendation to purchase a selfie ring light online. “They are so cheap,” Cindie said. “They have three light settings for different environments and are totally worth it.” Cindie also suggested utilizing the right photo editing apps, such as Snapseed and Photoshop.
“Understand that the camera’s eye is stagnant,” Denise adds. “You have to build in movement and clarity through the plating.”
Here are more tips for better food styling and shooting:
- Have a clear vision: Establish what you want to accomplish. Are you selling beef or are you really selling a lifestyle? Is the photo for a magazine, a website or a billboard? Know the purpose and context of the image use.
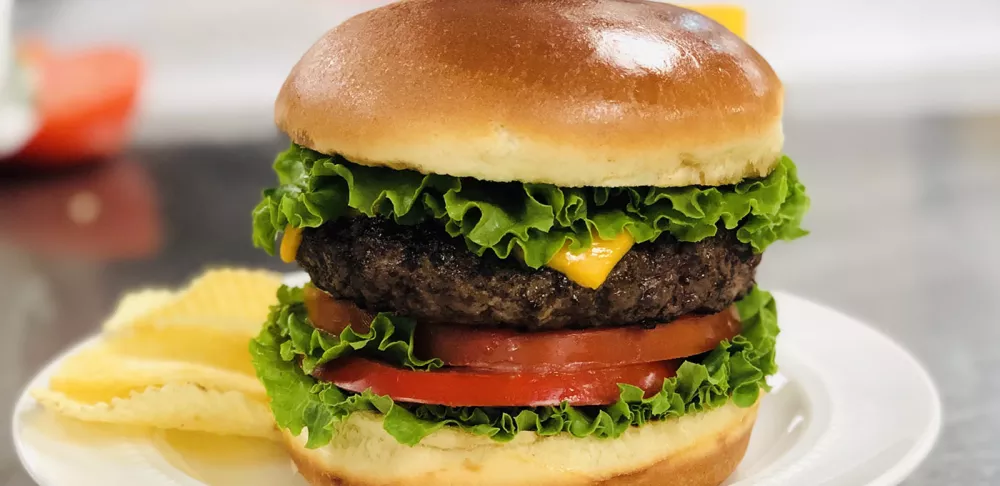
- Undercook your food: Food loses moisture and shrinks as it cools. Cook food only until it no longer looks raw. You can darken anything with Kitchen Bouquet or soy sauce, like painting the trim on your house. Food that is undercooked keeps its fullness while real-time cooked food dies under the lights. You can make food appear hot by adding moisture and shine, like spraying it with PAM.
- Bring the dish to life: Use props to emulate depth and texture then preview the shot through the camera lens. Focus on the angles of garnishes or toppings that add layers and height.
- Consider colors: Add a dash of contrast with raspberries on chocolate, a piece of lemon on fish or carrots in beef stew. Find a bright napkin to draw the reader’s eye into the photo.
- Remember, less is more: In painting, plating, any art — you need negative space. Let your presentation breathe. Don’t overcrowd the dish or setting.
Pursue a career in food media with a Culinary Arts diploma.


